You may have heard photographers say, “That’s great light.” Or perhaps you have thought: “I think I’ll just stay home today because the light is awful.” Light in winter can be challenging for outdoor photography, and it is a key variable in whether a satisfactory photograph is possible. Light is a basic building block of all photography, and understanding how to use it will significantly improve your bird photography.
In recent weeks I have had the opportunity to photograph birds in both awful and great light.
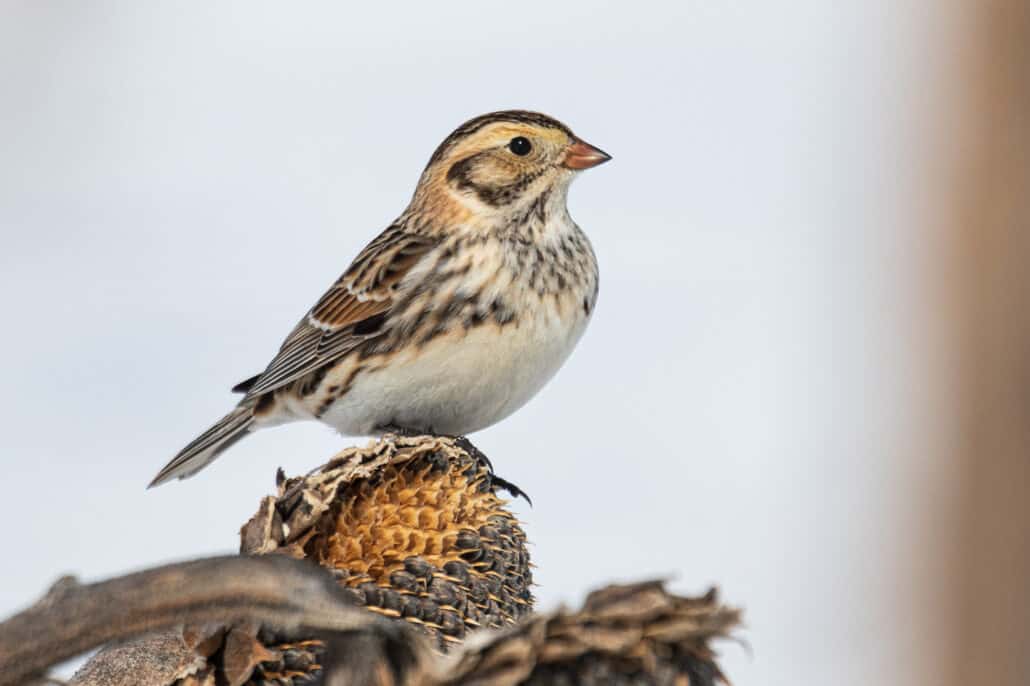
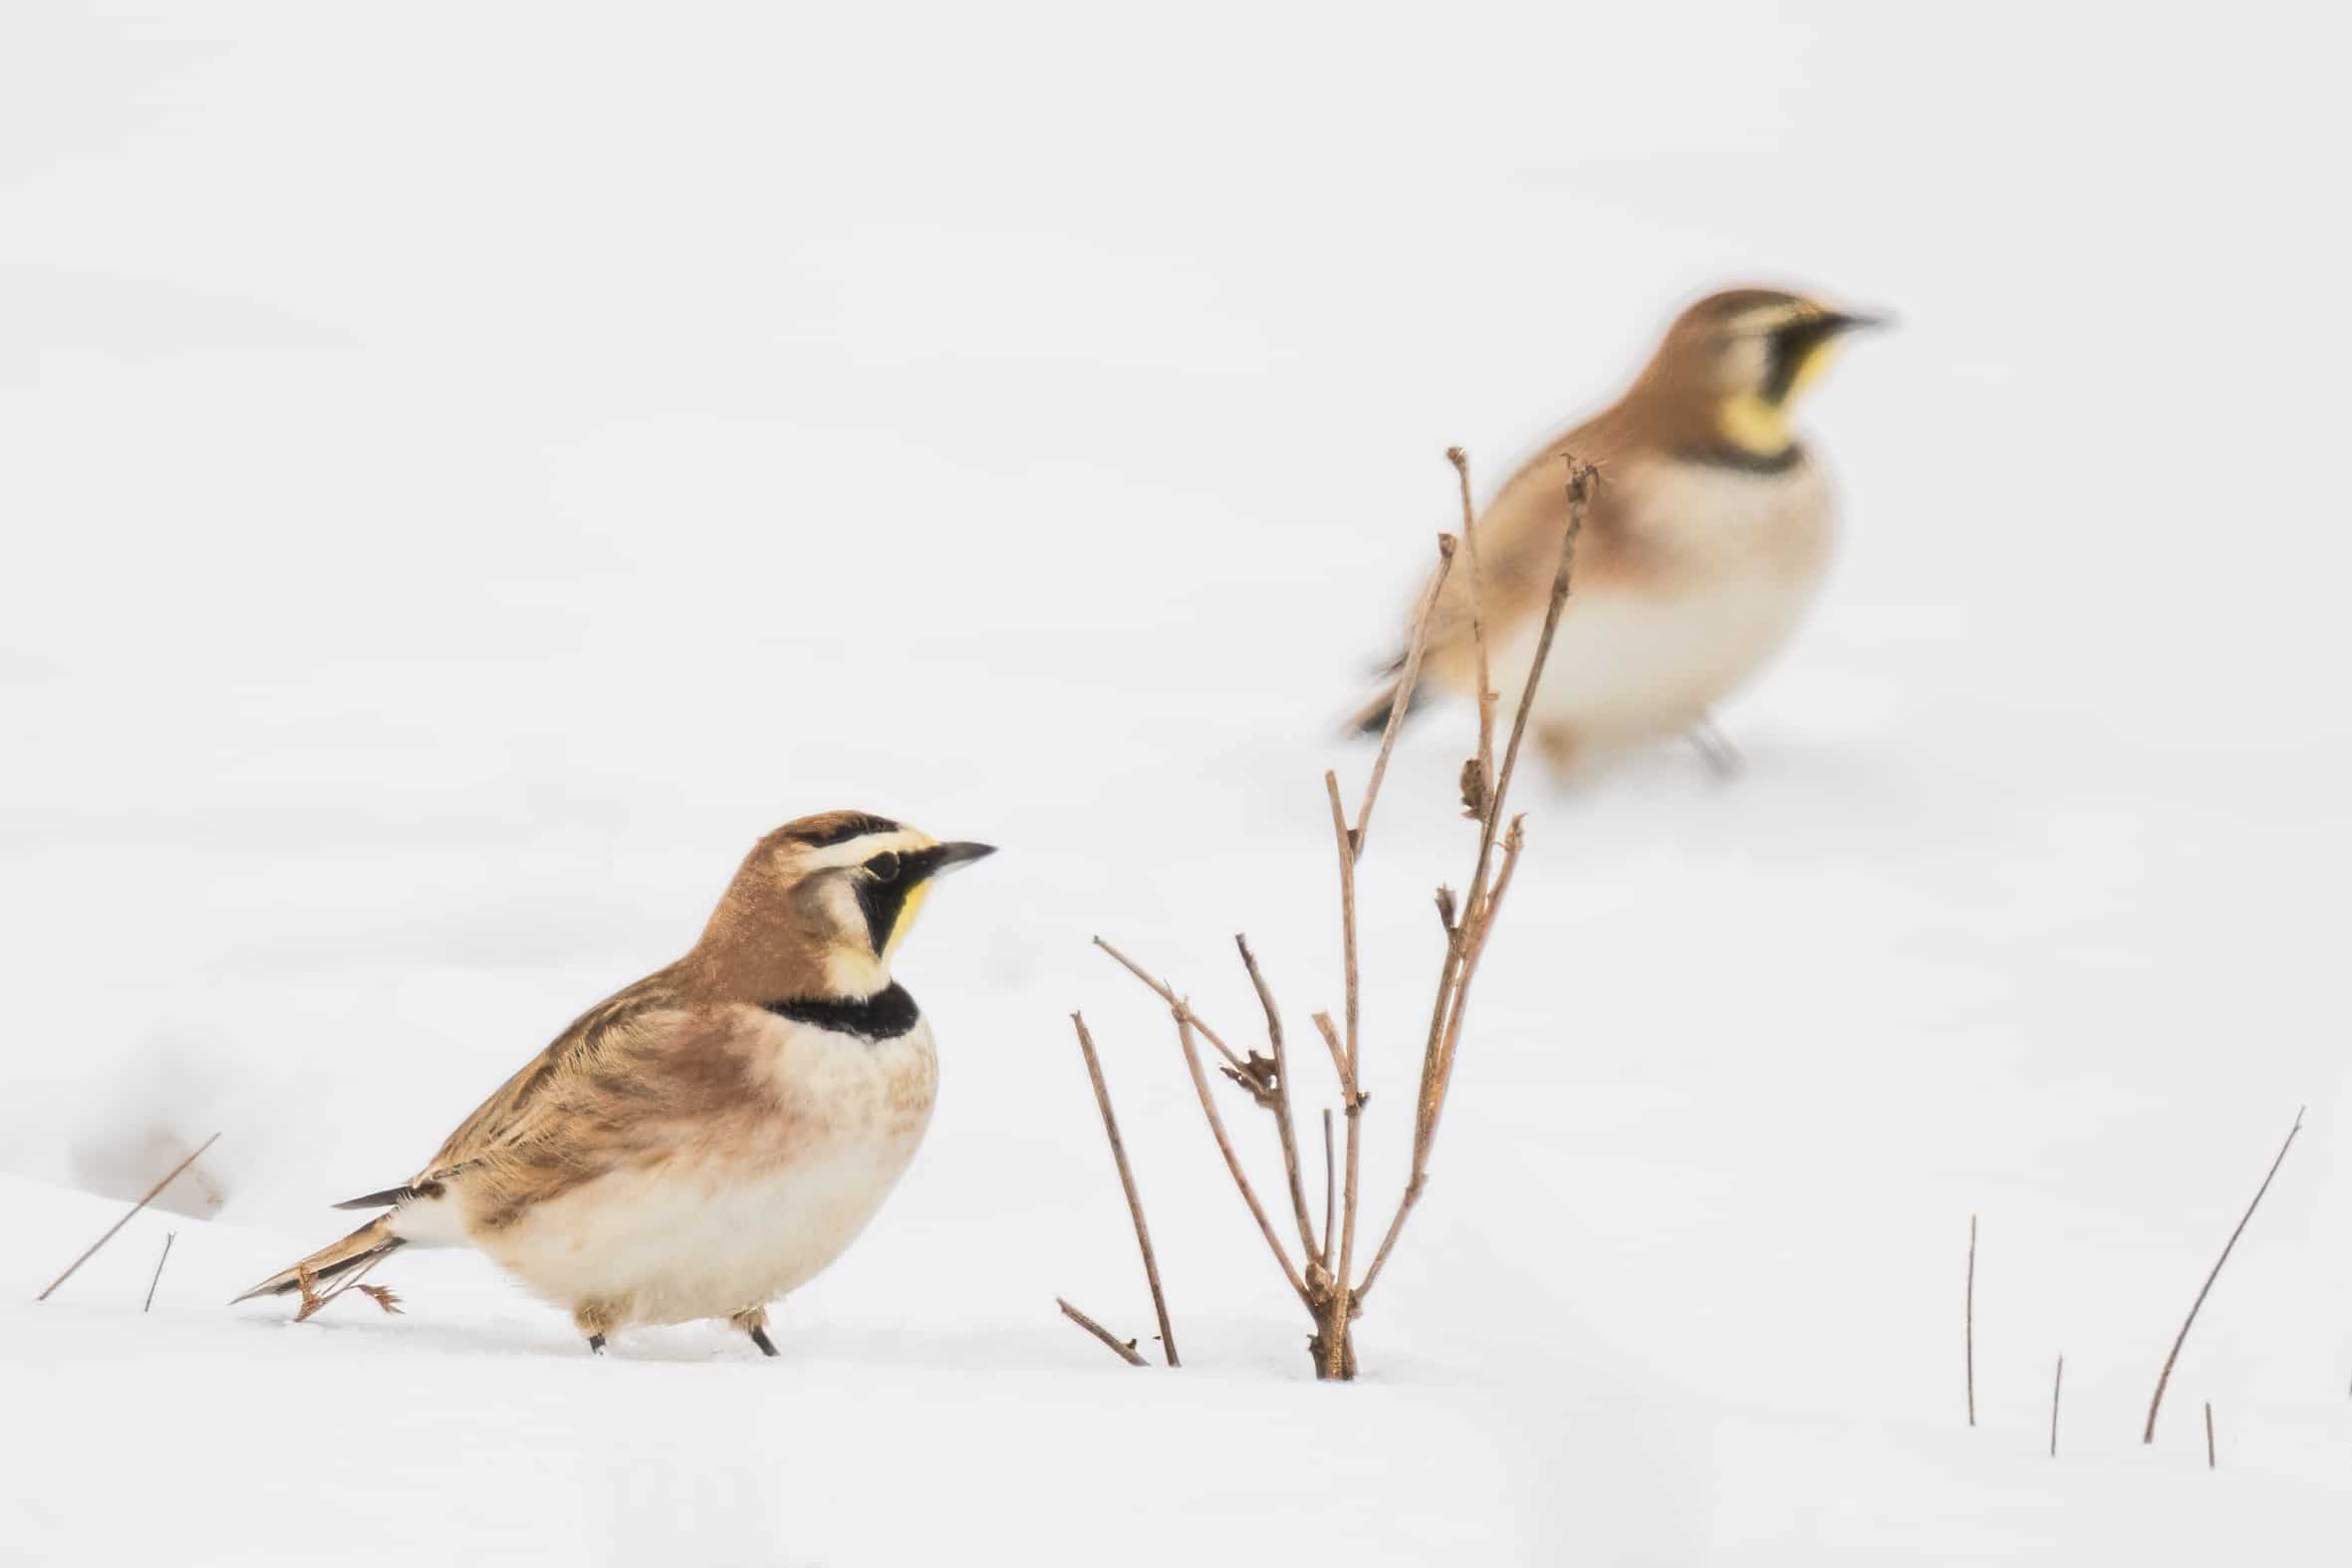
On a heavily overcast day, I was photographing a flock of Lapland longspurs and horned larks on a fresh blanket of snow in a field located only 20 minutes from my house. It was a rare treat, since both species are birds of vast open areas and usually require a day trip to find them. Horned larks are a year-round resident where I live, but easiest to spot in winter. Lapland longspurs nest in the Arctic but spend winters across most of the U.S.
Cameras use contrast to determine the subject and need it to focus the lens sharply. But when shooting on cloudy, low-light days, you may notice your camera searching for focus because the soft light reduces the contrast needed for the camera to grab a sharp focus. There are a few things you can do to help this focusing problem:
- Open your aperture to the widest setting, allowing more light into your camera.
- Use the center focus point; this is the most accurate focus point in your camera.
- Get as close as possible to your subject. The more the bird fills your frame, the more contrast your camera will find to lock on a sharp detail.
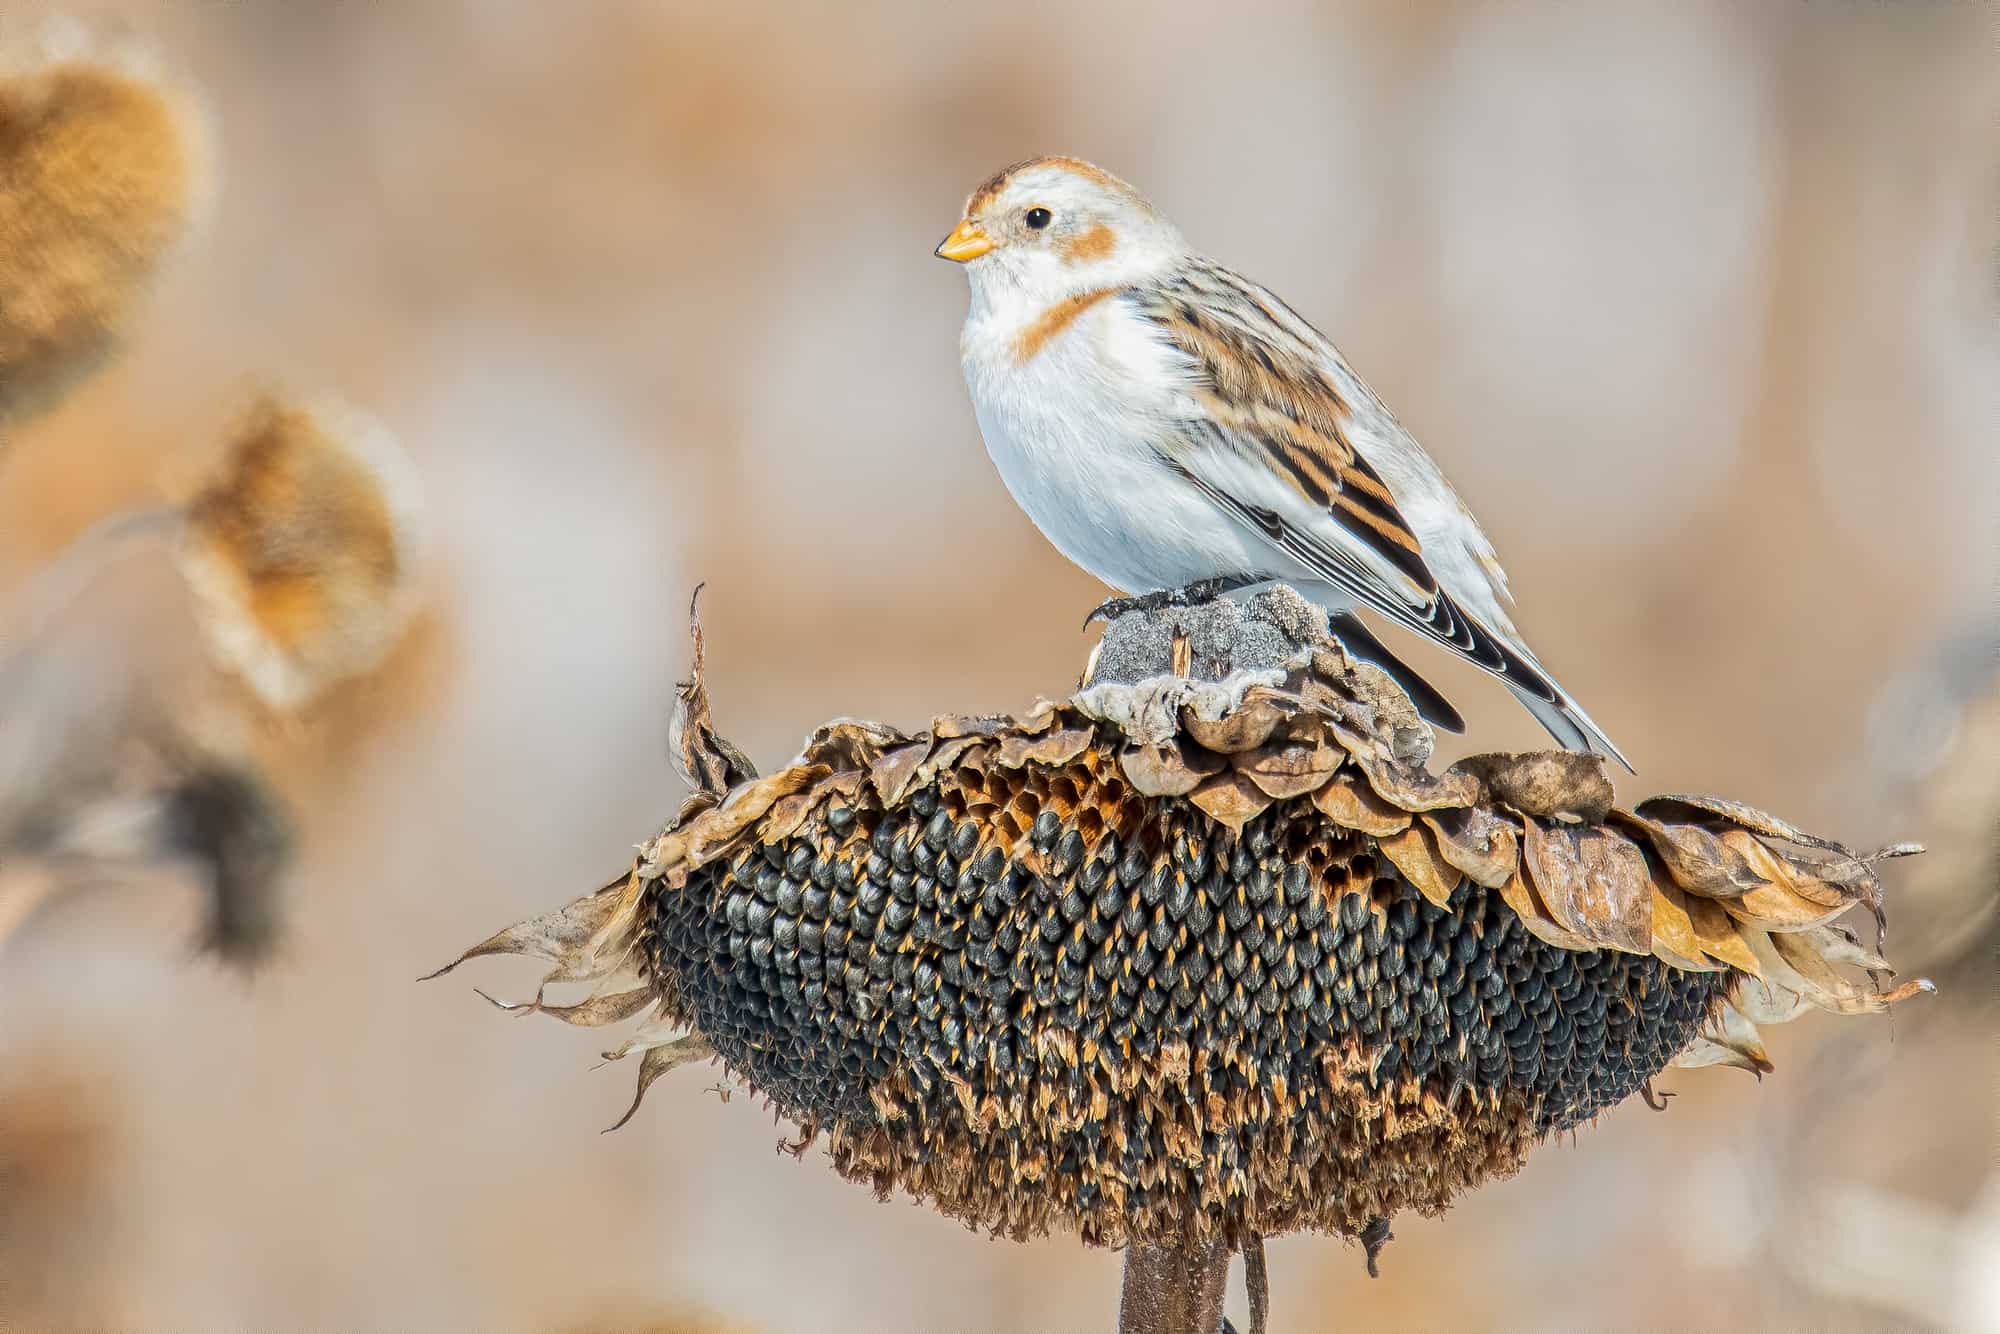
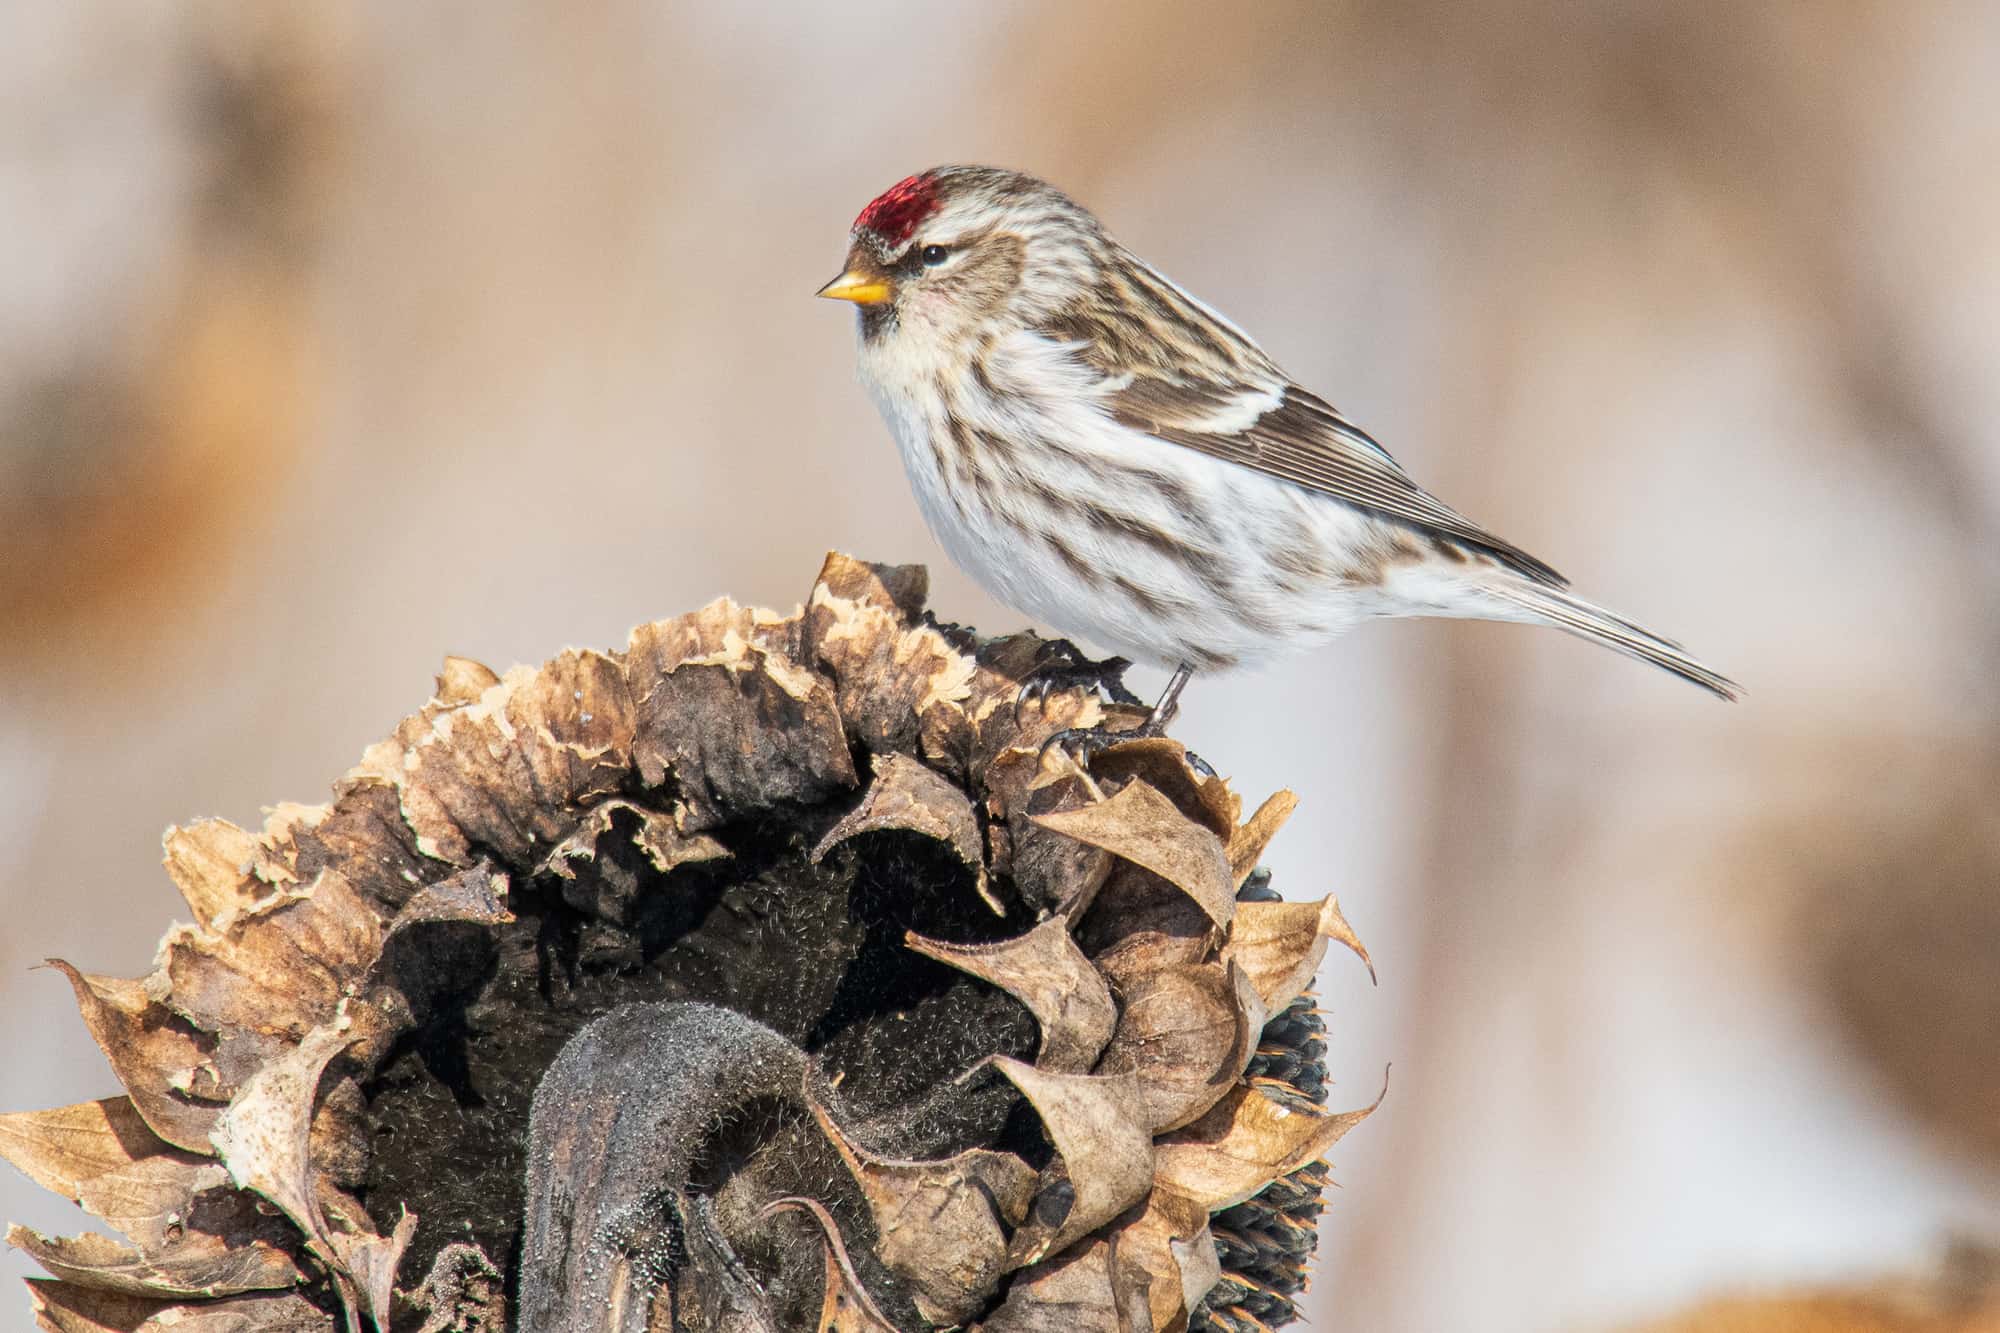
A week later, on a beautiful sunny day, I headed to an area in Northern Ohio where I hoped to photograph two life birds: common redpoll and snow bunting. Both of those species also nest in the far North but winter in the northern US. Upon arriving at my destination—a sunflower field with lots of dead stalks and seed heads still standing—the light was magnificent, so focusing was not an issue. But there was still plenty of snow on the ground, which could cause another problem.
Have you ever taken a photo of a bird in the snow, but the snow turns out gray, not white? Our cameras are not quite as smart as we think. This happens because our camera’s exposure meters will measure the amount of light reflected in a scene and then calculate the exposure needed to make the scene average out to 18 percent gray. In normal conditions, this method works well. But photographing a snow scene, the light meter makes the snow gray (18 percent), not white.
How to Fix Gray Snow
There is an easy way to make your snow white. Most cameras (even the basic ones) have an exposure compensation feature. It is indicated by a little +/- button on your camera. If you don’t see the button, look up exposure compensation in your camera’s manual. When photographing a subject against snow, use an exposure compensation of between +1 and +2. Take a test shot and check the results.
Photographing birds in winter snow can be exciting, especially when you find a life bird or two!

