The warblers are coming! The warblers are coming! Okay, I’m not Paul Revere, but I have five helpful tips that will help you prepare to photograph the warblers that are coming this spring.
1. Pre-focus
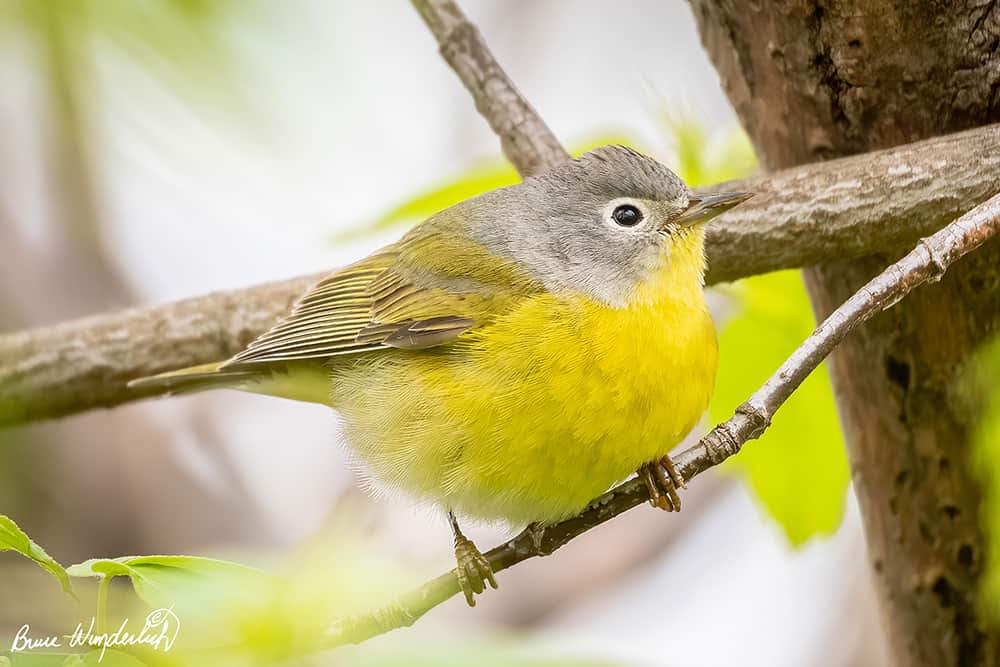
Most species of warblers are very active, and finding one perched ready for a photo is nearly impossible. But by watching their behavior we can learn to predict their movement. First, try to anticipate their direction of movement. Try to get ahead of the bird and find a spot where you can get a bright and clean image of the warbler.
Pre-focus on the place so that as the bird enters your frame, you can quickly focus on the bird (on its eye). If your camera has to search for the focus, you are likely going to miss the shot. If your lens has a focus limit setting, set it to the distance you are shooting, This can also increase your focusing speed.
2. Forget the birds on top
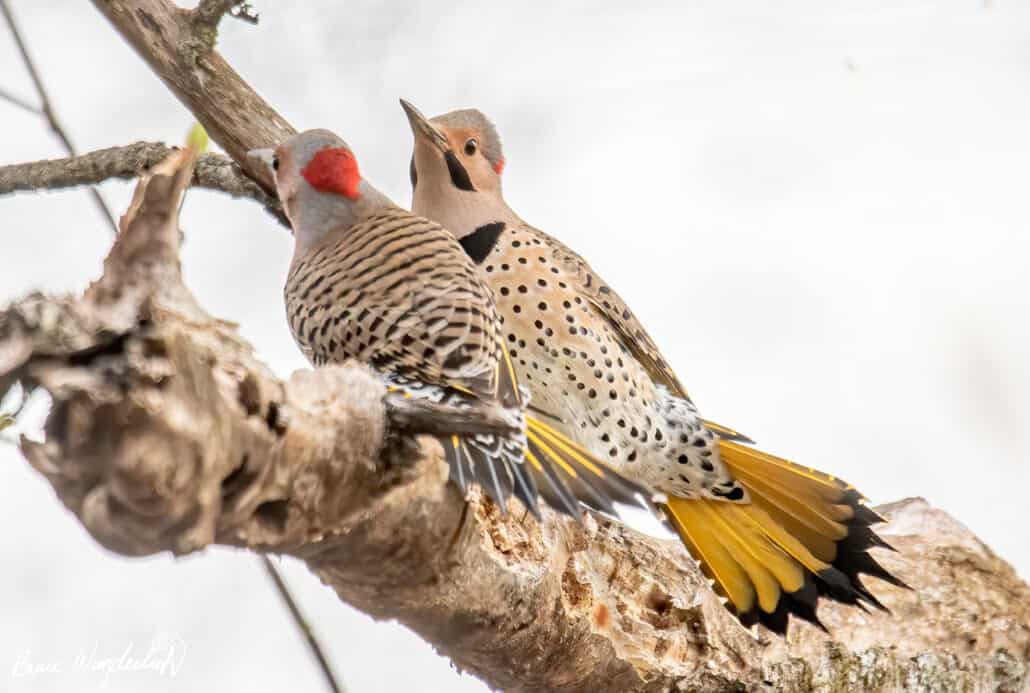
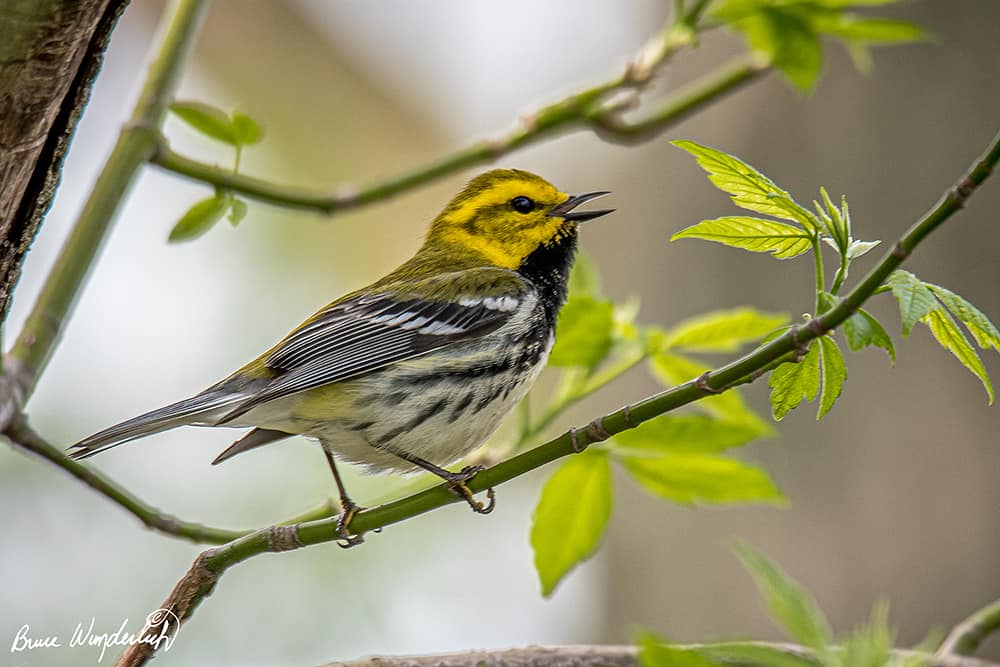
Forget about the birds in the top of the trees; the best images of warblers will be at eye level. It is rare to get a beautiful image of a bird when you are shooting up into the tree. There are two reasons to avoid shooting up at birds: First, while it may be helpful for identification of the species, a photograph of the underside of a bird is not one you’re likely to want to frame. Second, if you are shooting up into the sky, the bird—your intended subject—will be backlit and silhouetted. The light meter in your camera will set your exposure based on the brightness of the sky, resulting in the bird being dark, relative to the sky.
3. Focus on the eye
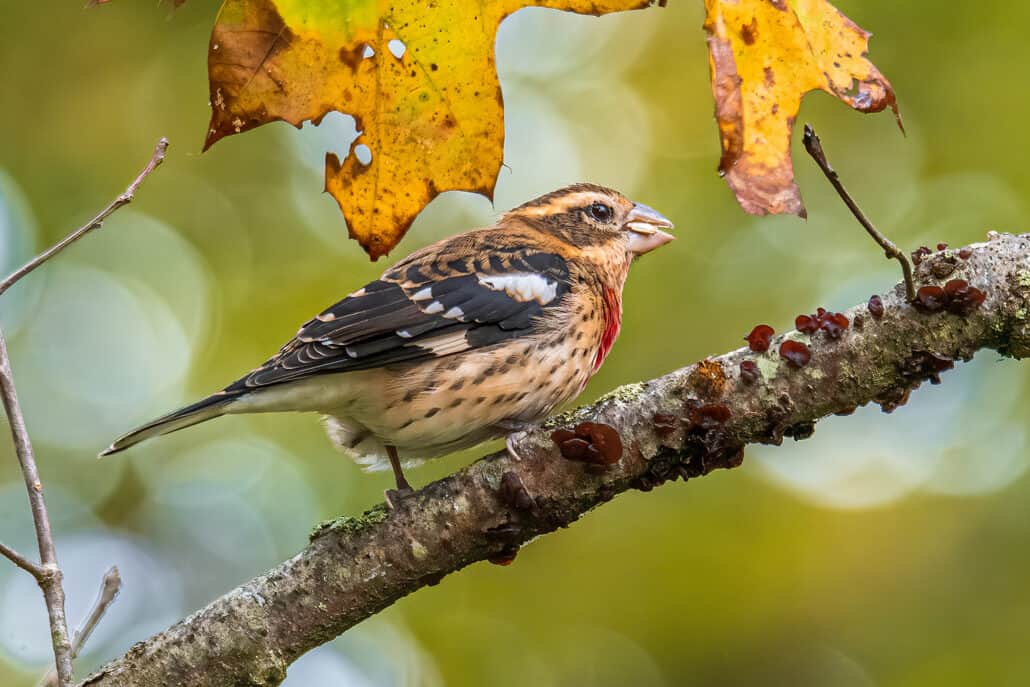
An essential part of warbler photography is the bird’s eye. In creating a successful bird photograph, the eye must be sharp and well lit. Birds look alive when there is light in their eyes. This effect is called catch light. Without catch light in the eye, the bird is going to appear lifeless (dead-eye). Watch the bird as it turns its head and look for the catch light as you capture your image.
The No. 1 goal in bird photography is to get the eye sharp and in focus. If the eye is in focus, the rest of the bird is going to appear in focus. Because of the shallow depth of field, it is not always possible to get the entire bird in focus, but if the eye is sharp, the photo will be good. At the same time, if you are at eye level with the bird, odds are the photo will be even better.
4. Rainy days
Rainy days or soon after rain can be an excellent time for capturing warblers at eye level. After a rain, warblers tend to be lower on trees than usual—for two reasons. First, to rest up for the next leg of its journey; and second, they are looking for insects to eat.
On rainy days the insects will be pushed into lower branches of the trees, and the warblers will follow. Keep monitoring the weather forecast for optimal opportunities, and don’t be deterred by rain.
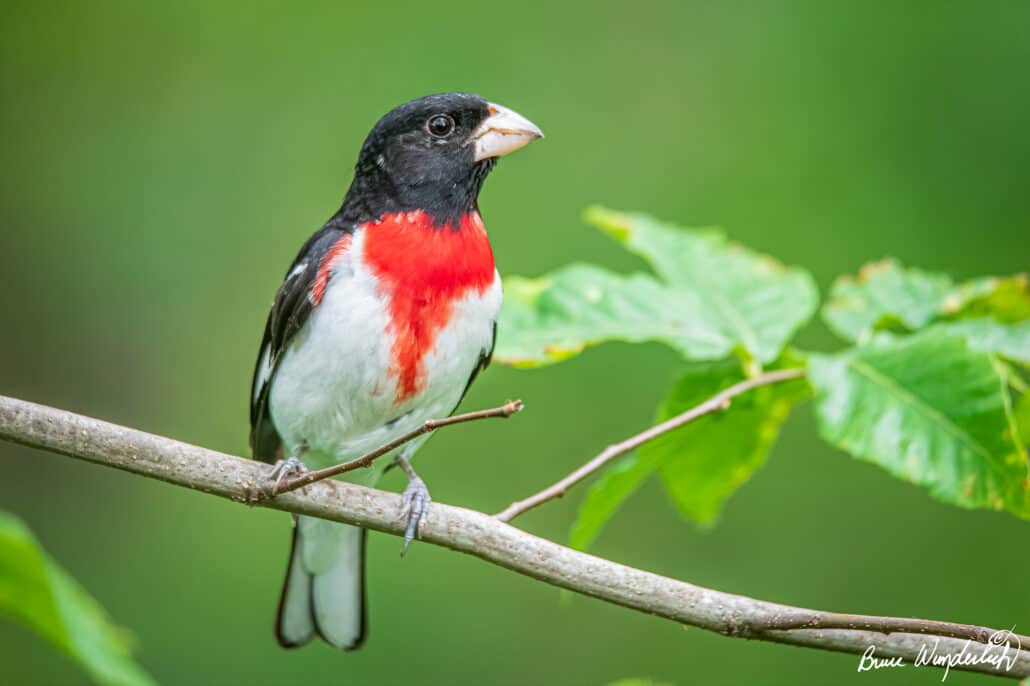
5. Watch your background
Why are backgrounds relevant? Aren’t we photographing warblers? Yes, but shooting a bird with a clean background rather than a busy background can make the warbler stand out. A busy background can be distracting, and the bird can get lost in the clutter. An ideal perch is one where the distance to the background is far enough away to be out of focus.
Warblers are one of the most challenging birds to photograph, but with practice, they are also one of the most rewarding.
Do you have tips for photographing warblers? Please share them in the comments below.
Stay tuned for the next Birdtography post, in which Bruce shares a new backyard pandemic project.