
If curiosity will kill any of our five cats, it will be Jack. He was a roadside stray kitten when we adopted him a year ago, and, at first, was determined to break on through to the other side (of the front door). He did make it out once, but we were able to find and catch him within an hour or so. That was fortunate for him—he didn’t get hit by a car, eaten by the neighborhood red-shouldered hawk, mauled by the next-door neighbor’s mastiff, get into a fight with one of the many neighborhood-roaming cats, or get lost, never to return to this loving home. It was fortunate for the wild birds in my neighborhood, too. There are enough non-native predators in my neighborhood.
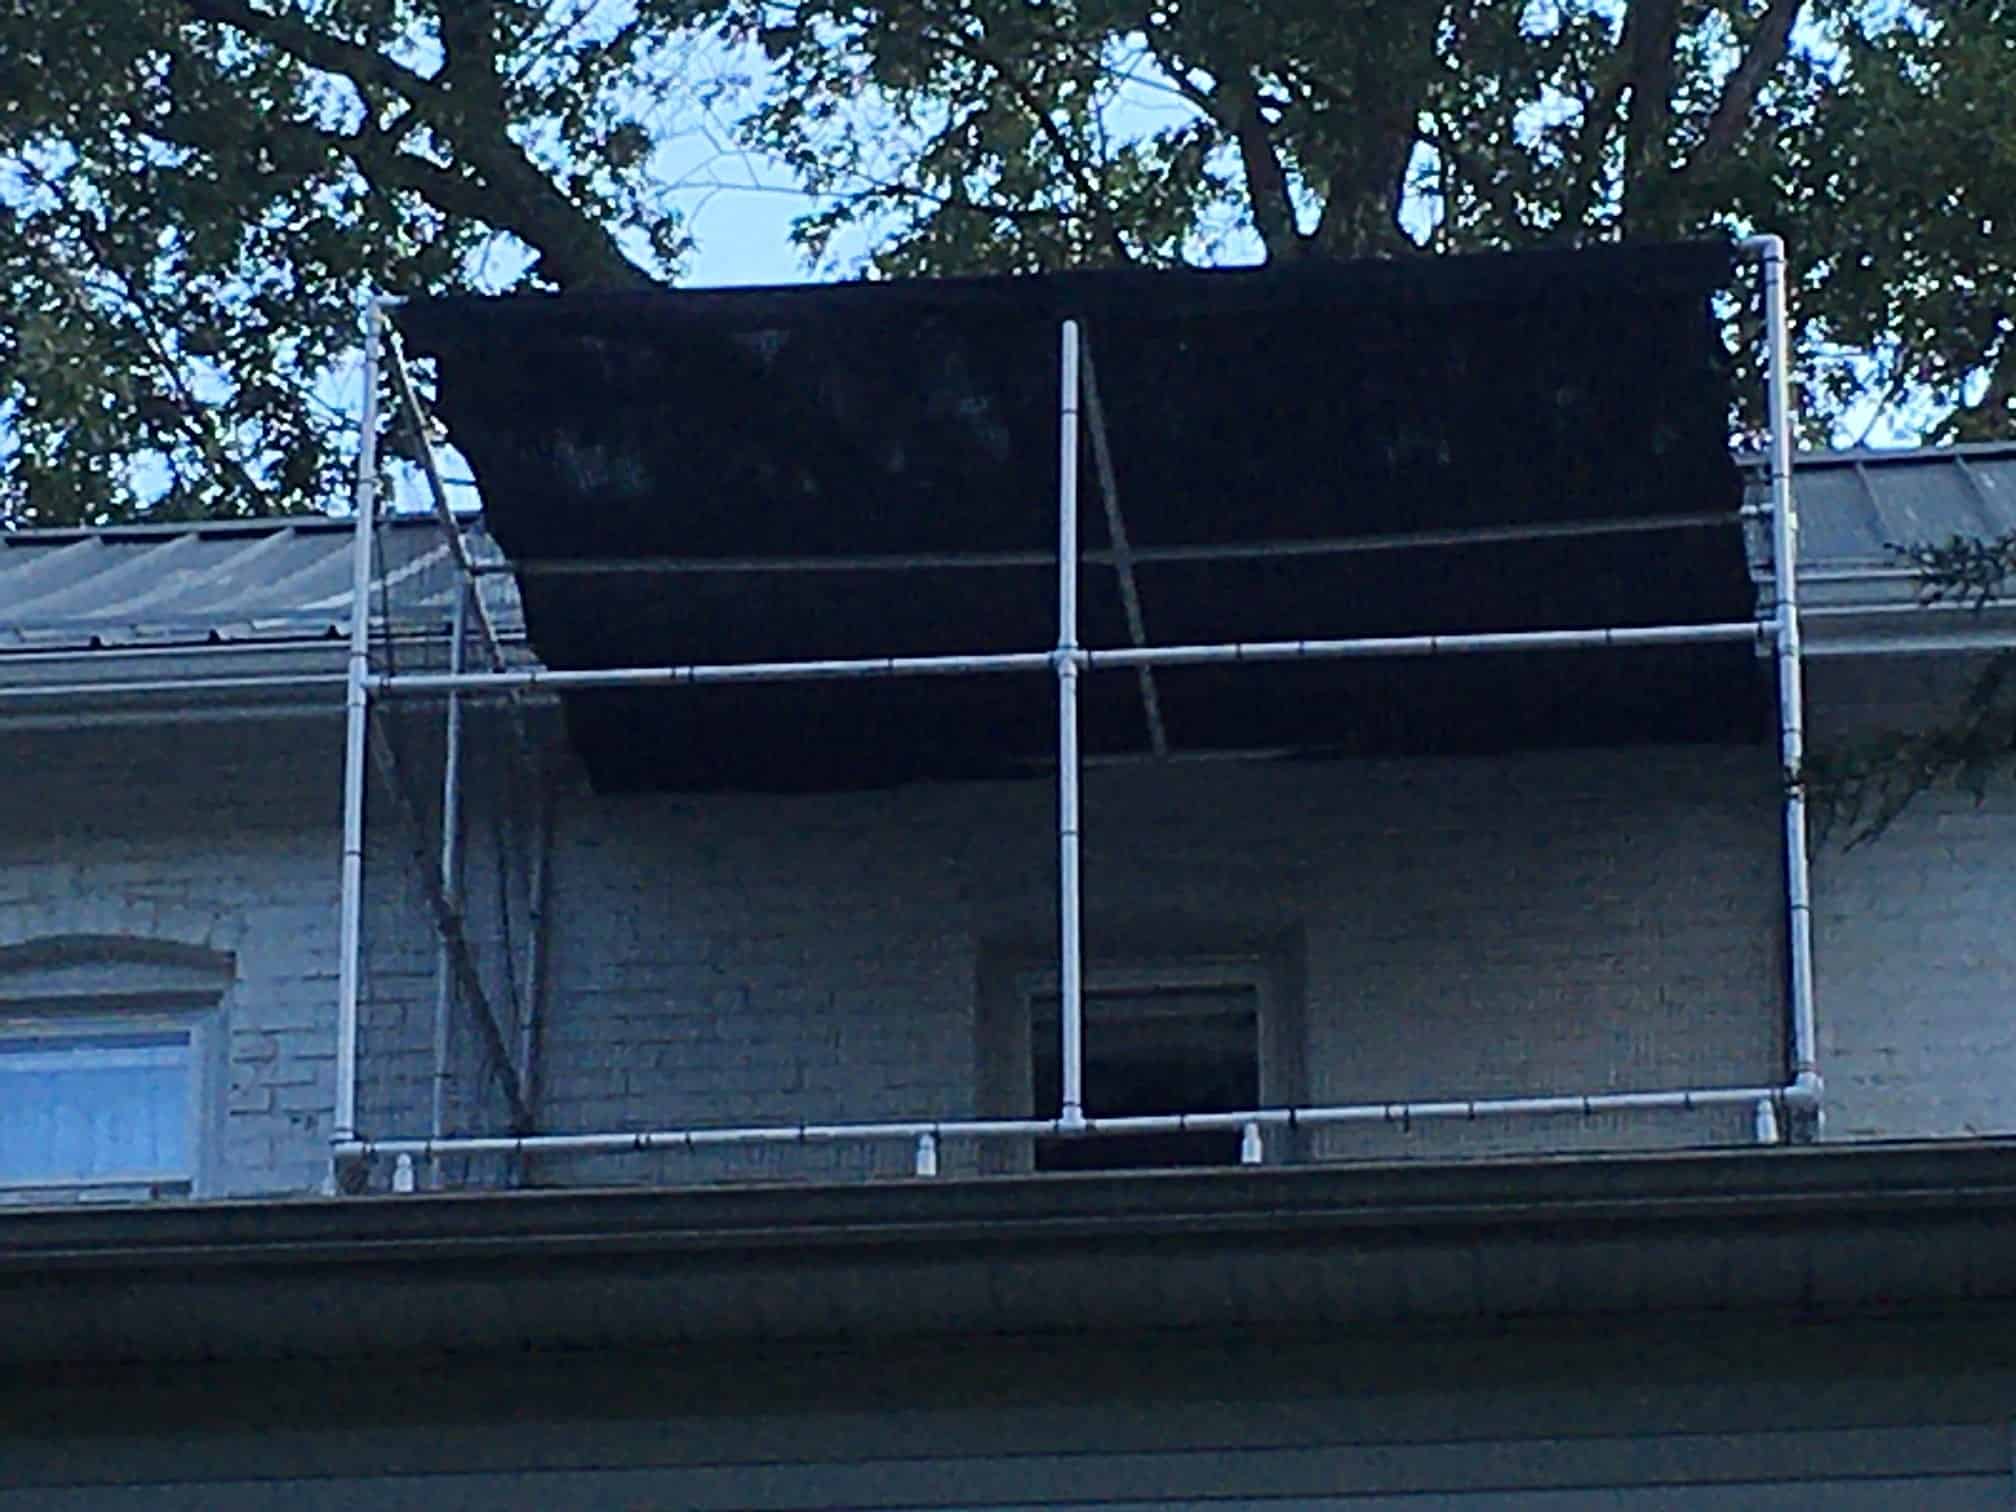
I just deleted three paragraphs about why those who care about wild birds should keep their cats inside. I won’t preach (despite my deeply held beliefs on the topic) more than I already have. Rather, let me tell you about this summer’s DIY project. I designed and built a catio. I’d been fantasizing about it for years. Now, my kitties, who—except for Jack—were quite content indoors, can climb out a window into an 8-by-10, 7-foot tall space with fresh air that overlooks my wild and wooded backyard.
I opted for PVC because I wanted something lightweight, something that if destroyed by strong winds wouldn’t cause damage. I wanted to use materials that are easy to work with and relatively forgiving. In affixing the structure to my house, I didn’t want to drill or pound holes into the roof of my first-floor addition—but I’ll get to those details soon.
The skeleton of the catio is 1.25-inch-diameter PVC pipe. I bought it off the shelf at the local big-box home-improvement store. (Mistake: This PVC is for plumbing. I didn’t realize that there is UV-protected PVC pipe for exposed outdoor use.) Most of the joints were also off the shelf, but I needed two varieties of four-way joints that I had to order online. That’s when I learned about UV-PVC.) Figuring out the dimensions of the skeleton took some graph paper, a good eraser, and a lot of thought.
My house was built in the mid-19th century. About 20 years ago, the previous owners built an addition spanning the width of the house where the original back porch was. The addition allows the rear second-floor windows access to a northeast-facing, sloping roof. It gets lots of morning sunshine from March through October, and almost no afternoon sun.
The problem was the slope of the roof, which would be the floor of the catio. I couldn’t find any PVC joints with other than a right angle. So, if I built a cube and set it on the sloping roof, there would be an angled gap next to the wall of the house under the facia and soffit. Or, if I attached it plumb with the house, there would be a wide gap at the far side of the structure: the horizontal base of the cube suspended above the sloping roof. PVC is flexible, so maybe I could have attached it plumb to the wall of the house and forced the cube to lie on the roof, bending the PVC to an angle it wasn’t designed for. But then I’d have had to fasten the base to the roof with braces and screws, and I didn’t want to do that. I also didn’t want to force the PVC into an angle under pressure; someday it will become brittle.
Ultimately, I built a plumb cube and attached it only to the fascia and soffits of my house in three points at the top front of the catio. The far edge dangled in the air, so I cut four supporting legs for each side of the two outside corners, and put rubber feet on them so they grip to the asphalt shingles. At the bottom, I attached plastic lattice, which also supports the catio frame. Plastic lattice is also lightweight and easy to score and break.
Cutting the PVC was a breeze with my little miter saw. I assembled the thing, making sure everything fit; labeled all the pieces, then disassembled it. As I reassembled it, I glued the pipes to the joints with pipe cement. The final assembly with gluing took an hour or less.
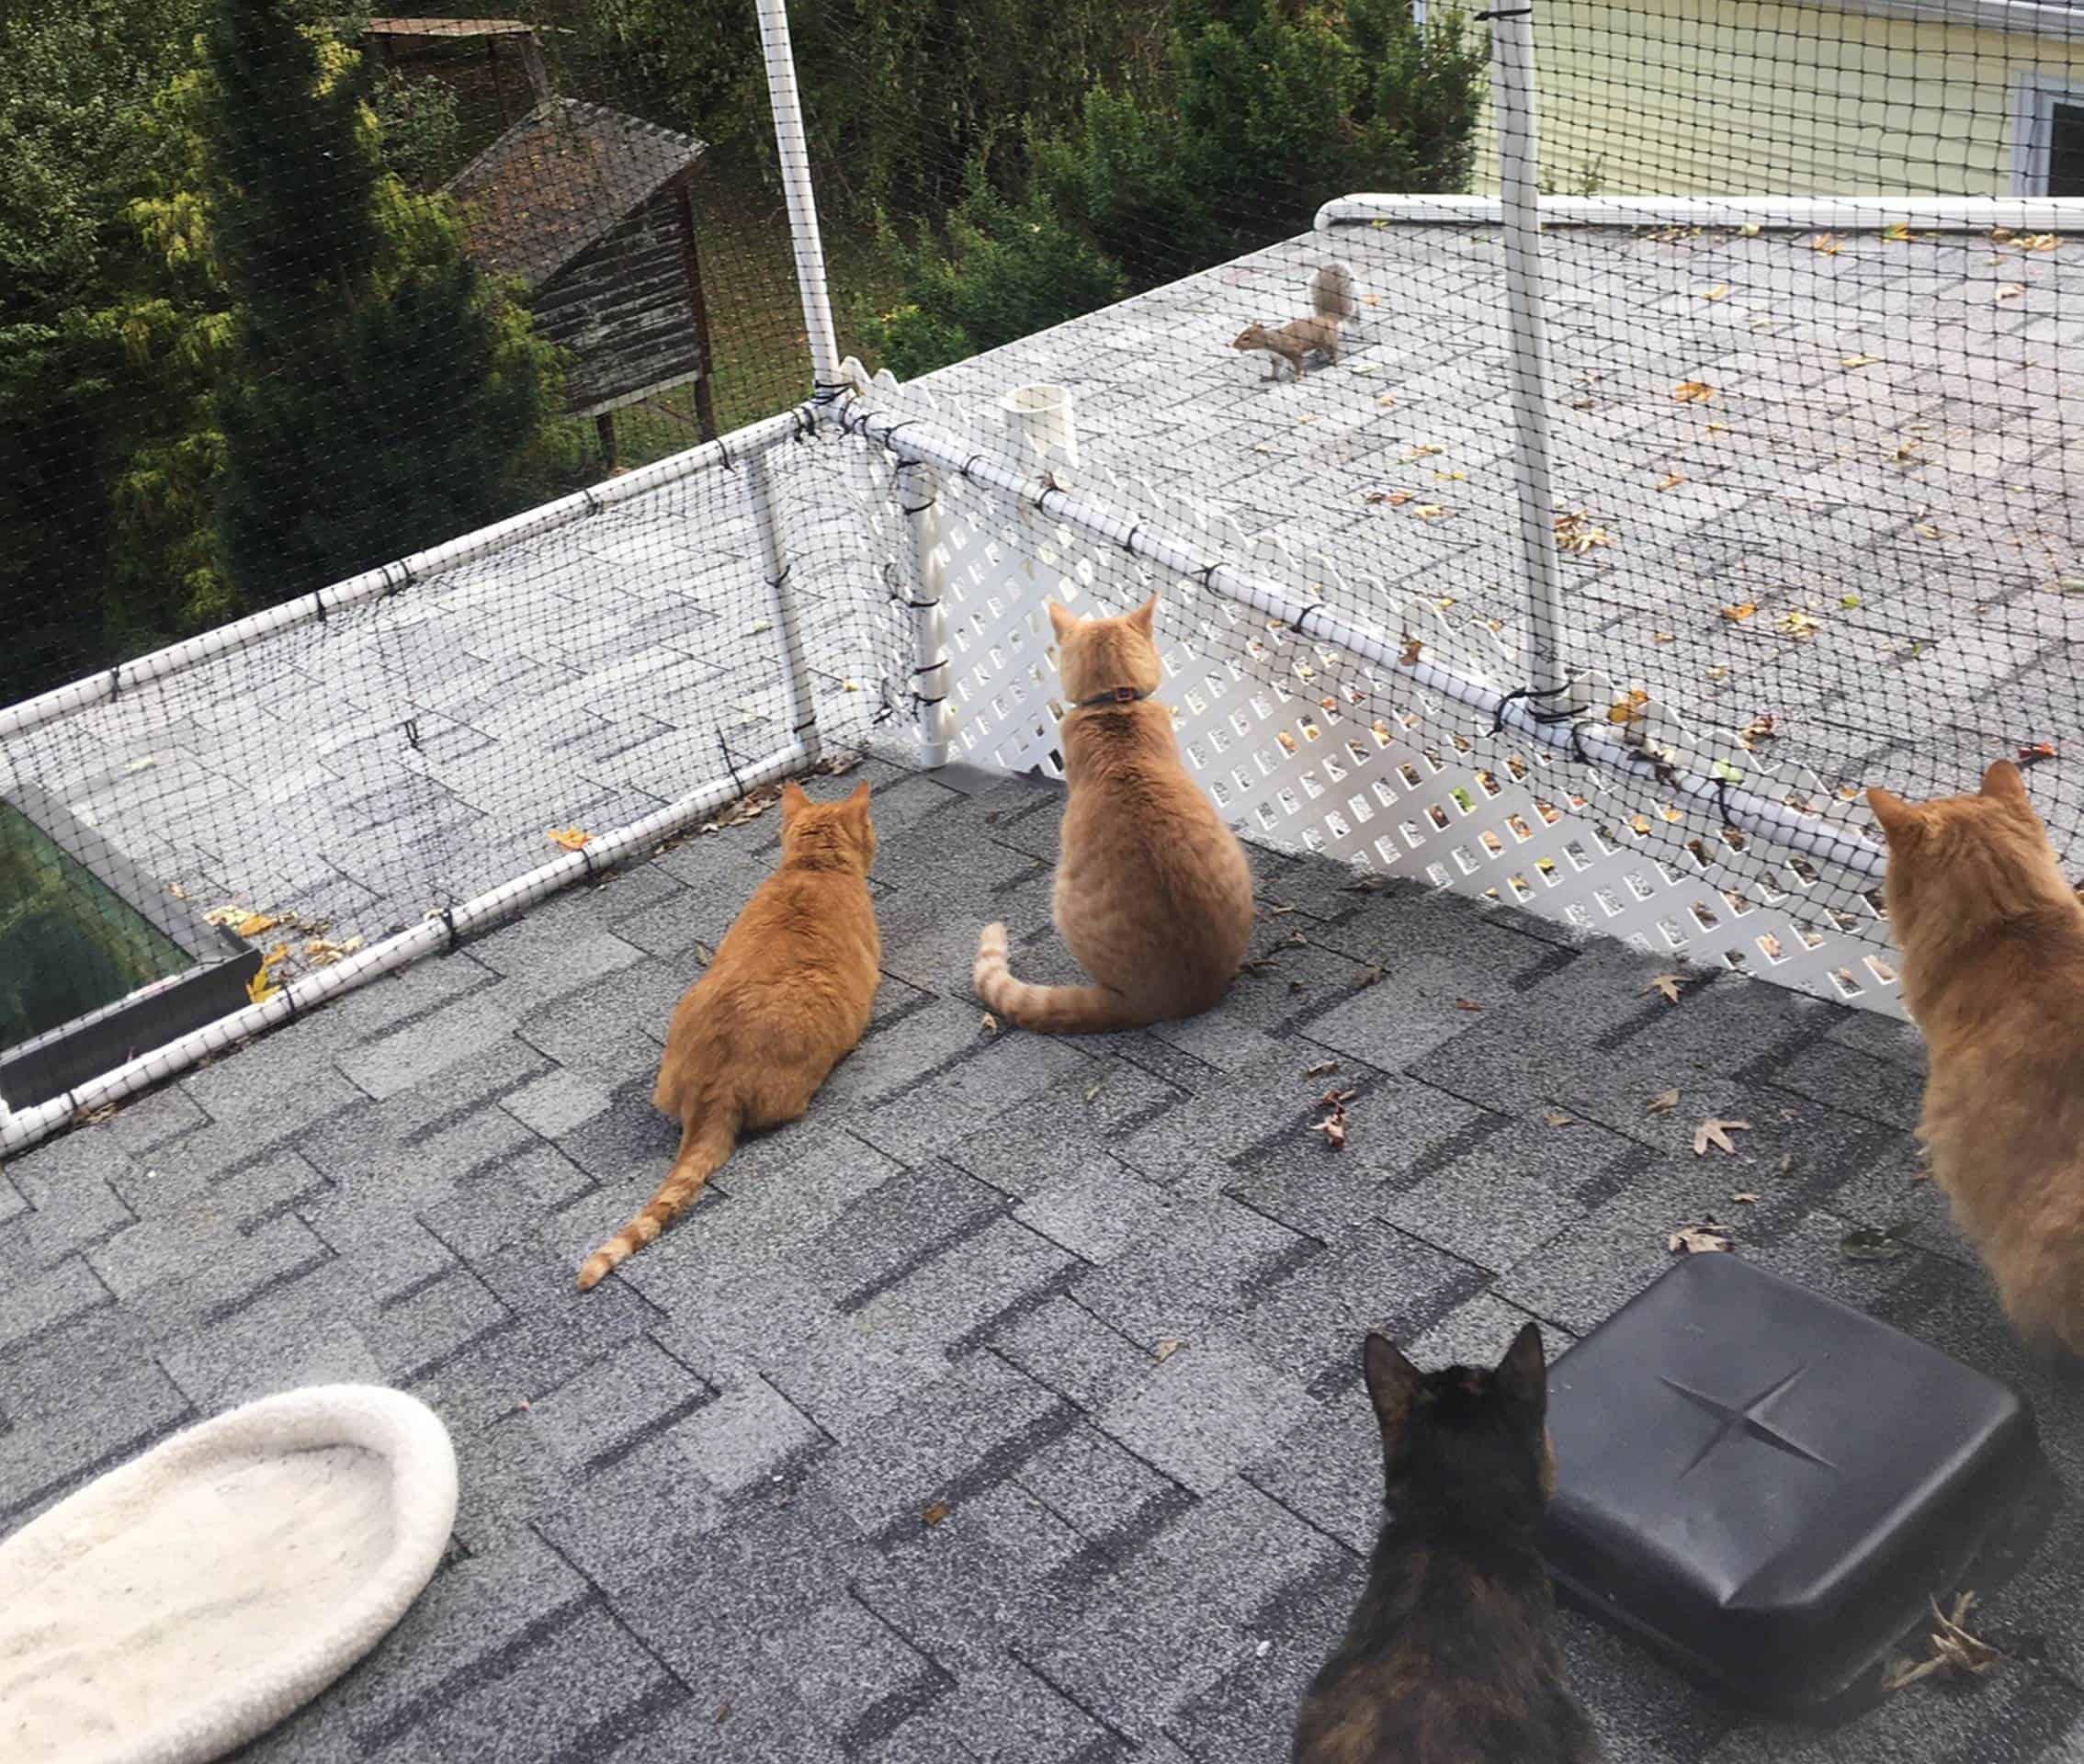
I used four-foot wide plastic netting to cover the three sides of the cube, and a used dog-kennel shade mesh for the roof, all attached to the PVC pipes with zip ties. At seven feet high at the lowest point, the cats can’t climb the walls, but the catio needed a roof to keep debris and birds out, and it will provide shade in the summer sun.
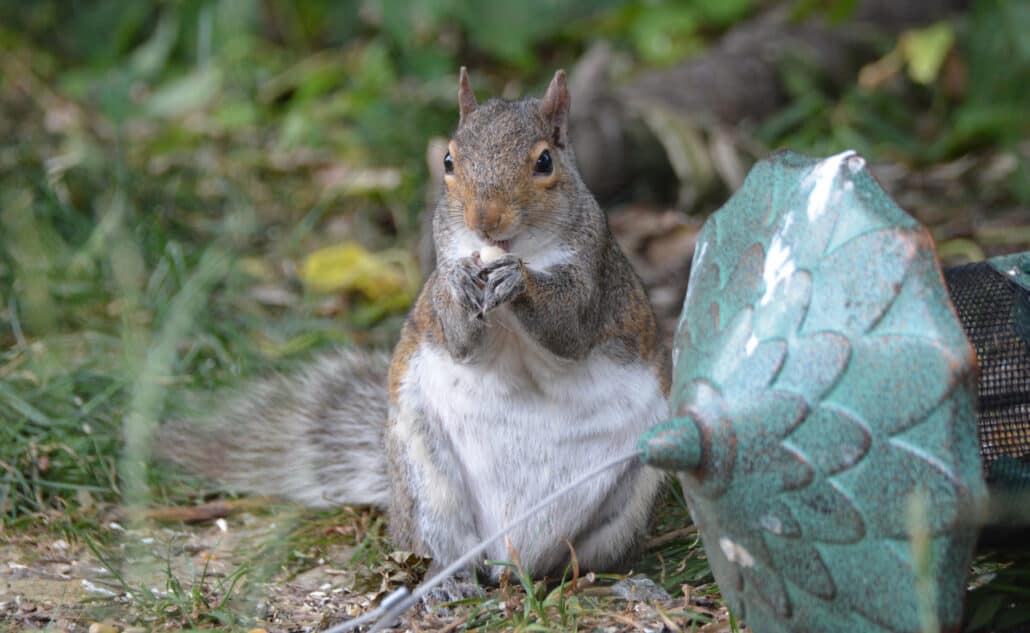
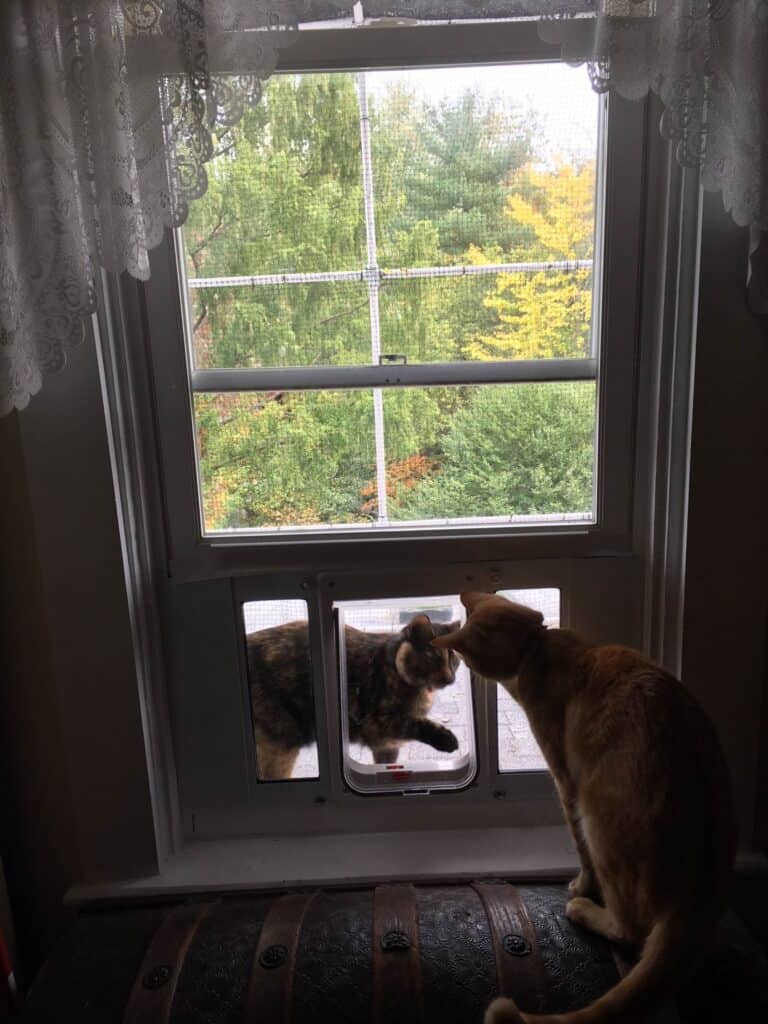
A window-insert cat door provides some thermal control, although the cats go in and out all day and night. They love their catio! From the bathroom window, I can toss sunflower hearts and shelled peanuts onto the roof outside the catio. When birds and squirrels visit to dine, the cats are mesmerized. I’ve seen Jack launch his whole body against the netting to try to get to a squirrel. Fail!
Before the catio, my cats were content with their enriched, well-fed, indoor existence. (Well, except for Jack.) I believe in spoiling pets—and in keeping them safe.
I believe, too, in keeping wild birds safe from non-native predators, i.e., domestic cats. The populations of many species of native birds are in steep decline. I’m determined not to contribute to that. If you have cats, especially one (or more) who insists on spending time outside, for the sake of wild birds, I hope you will consider building a catio as an alternative.

Looking to Subscribe?
Get 6 print issues of the magazine delivered to your door & free digital access
One Year Print Subscription: $26
(to US or Canada, includes digital access)
One Year Digital-only Subscription: $15