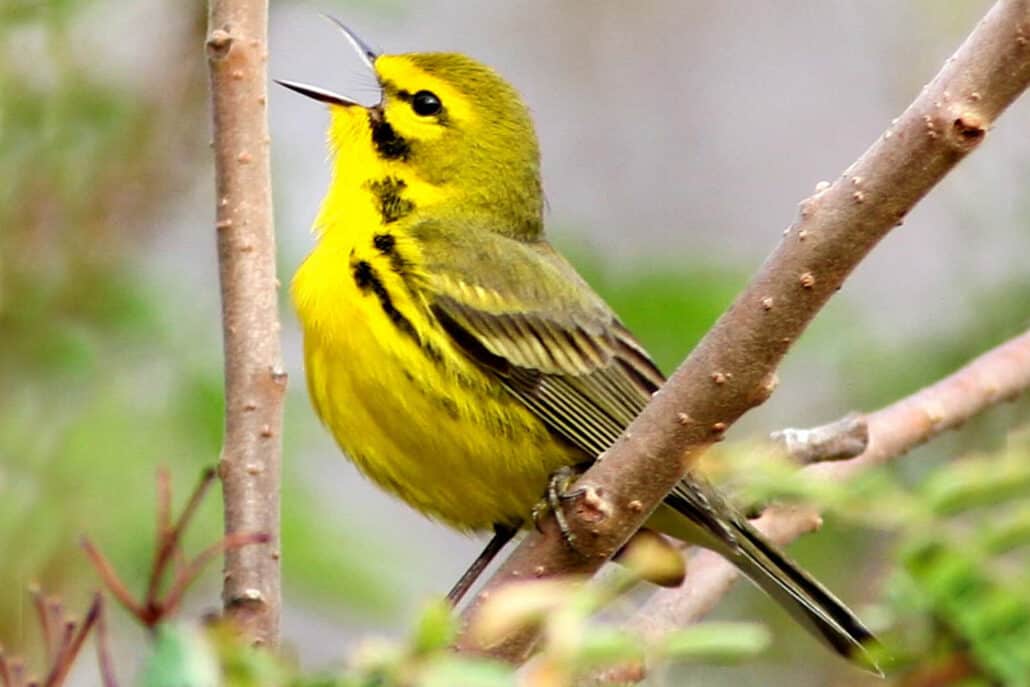
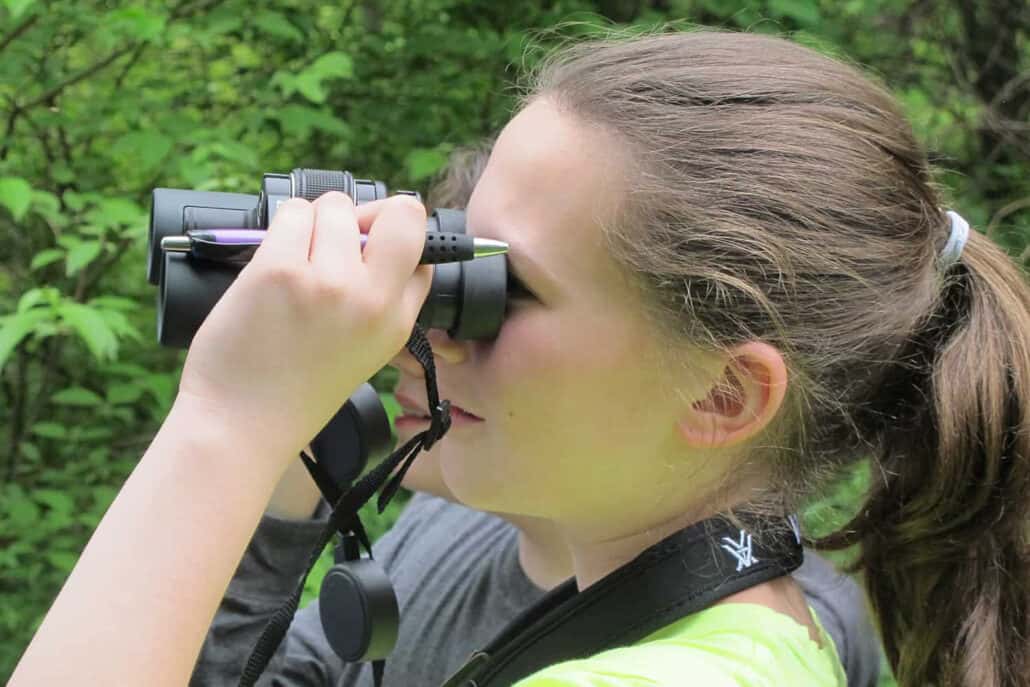
The challenge of identifying birds is one of the best parts of bird watching. It can seem difficult and frustrating, but there are a few hints that will make it easier and more enjoyable.
The steps for identifying a bird are the same whether you are watching a bird at your feeder, walking down a beach, or hiking through the woods. Here are some basic steps.
Size
The first thing you want to notice is the size of the bird. Size will limit your choices a lot. To start with, think of birds as falling into the categories of small, medium, and large. Try associating those categories with objects you are familiar with: a pencil, a 12-inch ruler, a loaf of bread. It won’t be long before your judgment of a bird’s size is automatic. In most field guides the size given is for the bird’s length, measured from the tip of its bill to the end of its tail.
One important thing to remember about size is this: A bird hunched over on the ground picking up seeds appears shorter and fatter than the same bird perched on a tree limb. Birds startled by a sudden noise or the appearance of the neighbor’s cat will stretch their necks, making them look considerably longer than when they are relaxed.
Also, birds look thin when they are holding their feathers close to their bodies, and fat and round when they have fluffed them out, such as in very cold weather. The key to judging a bird’s size is to watch it for several minutes, and to look at both its length and bulk.
Looking at a bird
For both beginner and expert, the first and most important piece of advice is: Look at the bird and not the field guide. Two minutes later the bird may be gone, but the field guide will still be there.
Start with a general impression: What is THE most noticeable thing about this bird? The answer to this question is a basic description of the bird’s shape, size, and appearance. For example: This is a big, tall, thin bird with long legs.
Sometimes the general impression is enough; it is certainly a good starting point. Begin at the front (the head or bill) of the bird and work backward. The key to identification is often in the pattern of the head. Does the bird have stripes on the head? A line over the eye? Is there a noticeable color on the face or head?
Pay particular attention to the bill. Bill shape and size often indicate the family to which a bird belongs. A family is made up of bird species that are closely related and share many characteristics. For example: all sparrows have short, thick bills. Warblers have short, thin bills. Thrashers and mockingbirds have long, thin bills, usually down-curved.
After you have looked at the head, check the back, wings, and underparts. Ask yourself: Is the back darker or lighter than the head or the belly? Does it have streaks? Are the underparts plain, or are there streaks or spots?
Wings often provide a key ID feature: the presence or absence of wing bars. Wing bars are contrasting, usually pale, lines across the wings. Many groups of birds – warblers and sparrows, for example – are divided into those that have wing bars and those that do not.

Looking to Subscribe?
Get 6 print issues of the magazine delivered to your door
& free digital access
- One Year Print Subscription: $26
(to US or Canada, includes digital access) - One Year Digital-only Subscription: $15
- Two Year Print Subscription: $48
(to US or Canada, includes digital access)
Look at the tail
Is the tail long or short, rounded or forked, darker or lighter than the back? Is it all one color? Does the bird bob or wag its tail persistently? Is it held cocked up or angled down?
All this sounds like a lot to remember, but after a few times most of the questions will become automatic. As in most things, there is no substitute for practice. Try these steps several times on a familiar bird. Remember, the key is to look for the most obvious clues to a bird’s identification.
Now it is time to open the booklet or field guide and try to put a name to the bird you have been watching. At first, the number of choices can be confusing. For new bird watchers, one of the best ways to find a species in a field guide is to simply start at the beginning and work through to the end.
Don’t worry, it won’t be long you are turning automatically to certain sections. Small brown birds with thick bills will have you checking the sparrows, and chunky gray birds with long tails and bobbing heads will have you checking the pigeons and doves.
Range
Expect the expected. A bird’s range can be a valuable clue to its identity. If you live in Oregon and identify a bird at your feeder that, according to the field guide, occurs only in Florida, your identification may be incorrect. Reconsider the other clues you have and try again. Birds occasionally show up a long way from where they are supposed to be, but it isn’t common.
Bird ID Tips
- Tip one: The first several times you go through the booklet or field guide, be sure to go all the way through, even if you think you have found the bird. Also check to see if there are similar species with which the bird might be confused. A common mistake many people make is to settle on the first bird in the book that looks something like the bird at their feeder.
- Tip two: The bird may not be identical to the picture in the book. Birds, like people, are variable. If almost everything matches and there are no very similar species, then you have almost certainly got the right bird.
- Tip three: The choice has been narrowed down to three or four birds but certain identification remains elusive. Check another book. Every guide has information the others lack.
- Tip four: Looking for a good online resource to help you identify a bird? Check out the Bird Identification Guide on Bird Watcher’s Digest.com »
Misidentifying Birds
Everyone does it. Beginners do it frequently, but even experts make mistakes. Misidentifying birds is part of the learning process. Don’t let yourself worry about it too much. The occasional mistake should not discourage your excitement for bird watching.


